"I love the weather and want to get involved! How do I do this?"
It's funny as I asked myself the same question years ago. Back when the best technology available was a touch tone phone, all I had was a 3-in-1 barometer, thermometer and hygrometer, and an outdoor thermometer. With the evolution of technology, it's much easier to get involved now, but I recommend following a certain path to see how far you want to get into weather reporting.
First: Get SKYWARN Trained
It is the easiest thing to do, and the most economical, and the most important! Maine is a rural area. The population is scattered and sparse. SKYWARN spotters are critical in this state to relay on storm damage and precipitation accumulations to our National Weather Service offices in Caribou and Gray. Both offices hold training seminars around the state (Caribou Schedule - Gray Schedule) and they are FREE to attend. There are two types of training: severe summer weather, and severe winter weather. It's important to go through BOTH courses. Once you go through the first training, you get a SKYWARN ID number. When you report weather related information to the office in your area, you supply that ID to them so they can log it along with your report. You may get a phone call in case of a follow up to your report, or for further investigation of a report near you from some other source. This takes minimal time on your part after the 90-minute training sessions are over, but it is so IMPORTANT to forecasters and for scientific study.
Second: CoCoRaHS
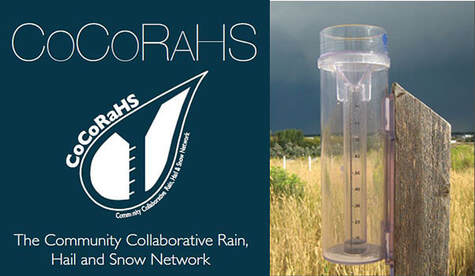
So, you wet your whistle with SKYWARN training, and it is going well. You've reported some storm damage, sent pictures of flooding down the street from your house, and supplied some snowfall measurements. But you are bored and want to do more. CoCoRaHS is your next step. The Community Collaborative Rain, Hail & Snow Network is daily reporting of precipitation amounts. You buy a specific style rain gauge and report precipitation amounts once per day, every day. Going out of town for a few days? No problem! You can file a multi-day report of your precipitation amounts once you return. The wonderful thing about it is reports can be submitted online -or- via the CoCoRaHS app on your smartphone or tablet. It takes two minutes to do it. This also is critical to meteorologists to verify forecasts and to assist in future radar and model upgrades. Training is online through the CoCoRaHS website. The special rain gauge costs about $35.00.
Third: Get a weather station
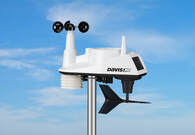
So, you checked off SKYWARN and CoCoRaHS training and you are absolutely loving it. Your next fascination leads you to think, "It's windy outside. How hard is it blowing?" Then the idea of buying a personal weather station comes to mind. You want to know how fast the wind is. You want to see your high and low temperatures of the day. You want to see how much rain you've received and do not have the desire to go outside and see your rain gauge. The weather station is the next step.
My personal experience with weather stations is that you get what you pay for. You can get small units that only report to an inside station for $50-$100. You can get something in the $100-$200 range that you can upload to Weather Underground. You can get advanced stations that go between $200-$1200 that last longer and provide more information. Personally, I have owned all three in the various price ranges. I will say I regret throwing my money away on cheaper units because they either failed due to cheap construction, or data was either lost, or only held for a brief period of time.
I want to talk about the Weather Underground specifically here as it is important for you to know the truth about how it works. My experience with it has been HORRIBLE. I had a decent, affordable weather station that with accessories ran about $250. I was so excited about it! I installed it, got it running, then hooked up to Weather Underground and naturally had to share it with my friends. After a storm where power was lost, I wasn't as excited anymore. Data was missing. Data was WRONG! Sometime later, Weather Underground switched internet servers and lost ALL my data from that station. I was irate. I had to do something different. I wanted that data to refer to it over days, weeks, months, and years. I began to search and look around for better options but had to keep a reasonable budget in mind.
A long time ago before I launched into complete weather nerdiness, I heard about Davis Instruments. A co-worker of mine at the time had a weather station of theirs. He raved about it. It not only performed well, but customer service on the Davis end was second to none. If he had any issues, Davis took care of it for him.
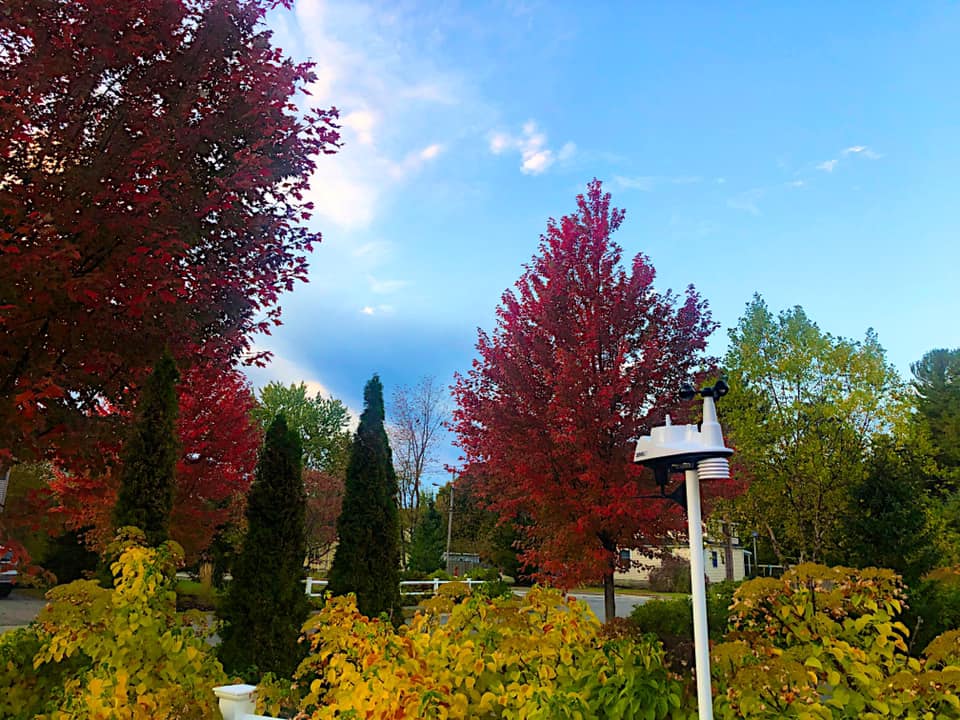
After 17 years of living in the foothills of western Maine, I relocated to Kennebunk in April of 2018. I moved into a community that had rules and restrictions. Thankfully, the association was happy to work with me, and my abutting neighbor approved the idea after consultation. I opted for the Davis VantageVue, an all-in-one wireless unit that is compact, professional looking, and easy on the eyes.
So now that I figured out the station I wanted, I needed to figure out where to get it from. After doing some searching online, that led me to Scientific Sales, which not only had the best price, but it was also located in New Jersey, which meant delivery within two or three days. The two items needed here was the station itself, and WeatherLink Live, which is needed to transmit data to the internet. Scientific Sales offers a bundle of those two items for around $429.00. (NOTE: This does NOT come with a console. You won't need it if you have a smartphone or tablet or a PC. You save money on something you will rarely use. Trust me, I have one, and I hardly ever look at it, and all it is doing is collecting dust.)
You have the station and wireless upload to the internet, now you need to mount it. For a roof mount, Ambient Weather is the place to go to for that. You will need the EZ-48 Tripod and Mast Assembly, along with the EZ-46-3 Tar Pad Kit for Roof Tripod Installation. This runs about $100. If you time it right with a promotion they offer, you can get free shipping. (Note that Ambient Weather is located in Arizona, so standard shipping to Maine runs about 7 days).
If mounting on roof is not an option, a six-foot closet rod (1.375"-2" diameter), a 4-foot fence post stake, along with screws or bolts with nuts and washers to mount the rod to the post stake is all you'll need. All that runs about $25 at a hardware store. The station itself comes with U-bolts for post mounting.
With either mounting option, it is critical that you have a LEVEL to make sure the station is even, or else it may impact the rain gauge, if crooked.
NOTE: If you set up your station on the ground, it should be mounted away from buildings, trees, and irrigation, and in as wide an open an area as possible!
Davis offers a great weather app for Apple and Android called Davis WeatherLink. You can use that not only to monitor your own station, but other Davis weather stations around the world! Want to check out where Davis stations are? Set up a free account at weatherlink.com (they won't sell your information to anyone) and go and explore. You may find a station down the street from you!
Installation is straight forward. Assemble the station as directed. My suggestion is to do the technical part first, and make sure your station is being read by WeatherLink Live, and you have a weatherlink.com account set up. If WeatherLink Live is working (you can see it on your PC or smartphone if you have the app), then mount it, making sure you tighten the U-bolts to the post (either roof mount or ground mount) securely, and the solar panel end is pointing due south. Once you have your station online, the data will automatically update to the smartphone app or PC in real time, hence "WeatherLink Live".
For data, Davis offers a subscription to store your information at the incremental level you want. For most folks, the $3.95 per month plan is suitable ($47.40 per year, pay once a year) for updates to third parties like Weather Underground and permanent data back up at 5-minute intervals. For nerds like me, the $8.95 per month plan ($107.40 per year, pay once a year) provides all of that, but uploads at 1 minute data intervals.
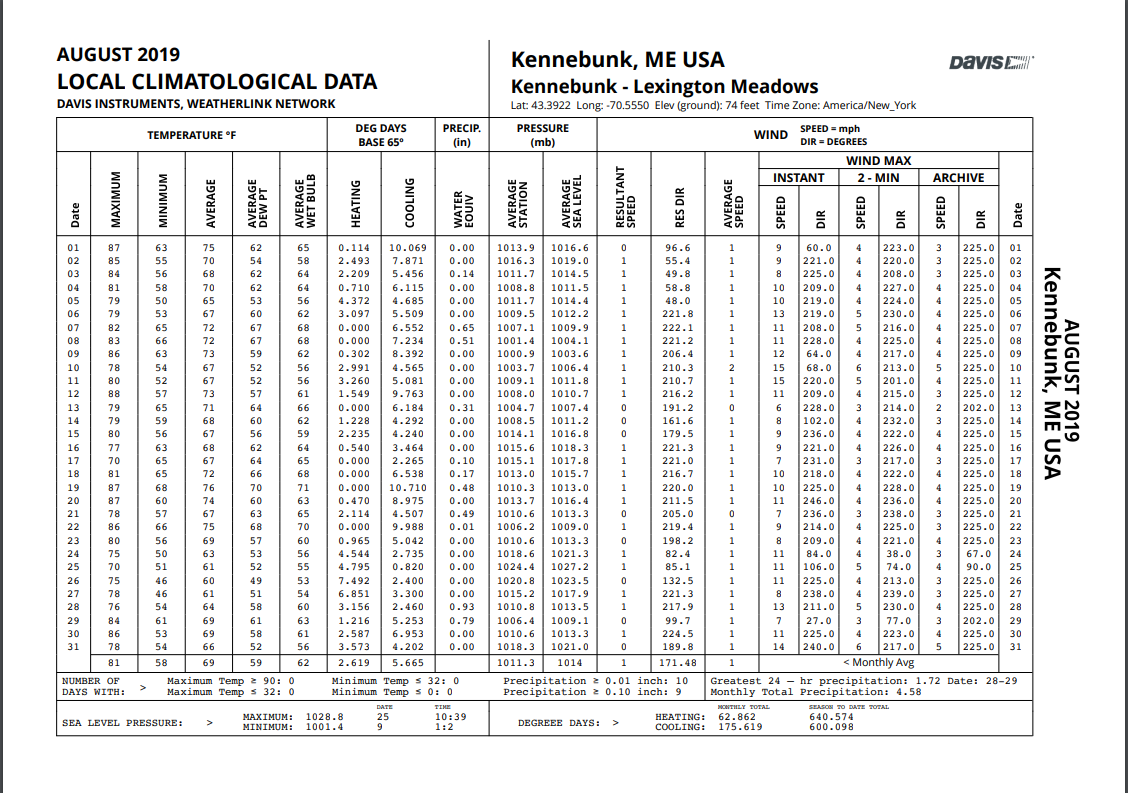
And there you are. Data is uploaded into the WeatherLink cloud and is yours to retrieve in various ways, right down to 5-minute increments for as long as you want it. If your power goes out, no problem. WeatherLink Live has battery backup with 2-AA batteries. Use the lithium ones for extra protection, and change them once per year, as you do with your smoke detectors. Your station uses solar panels to charge itself, but also uses a lithium CR123 3-volt battery, which you will notice the compartment for when you assemble it. That should be changed once a year, also. Check the rain catch for debris occasionally, other than that, the station should hold up well for lengthy periods of time with a yearly cleaning on a dry day with little to no wind.
With Davis WeatherLink Live, you can expand to have up to 8 different sensors at various locations, within one thousand feet of the transmission tower. You can add repeaters to sensors farther away than that.
You can easily set up an upload of your data to Weather Underground through your weatherlink.com account. Trust me, you won't look at that very often once you get it set up. Once you see what I mean about data loss and wrong data, you won't pay much attention to it.
Fourth and last: Citizen Weather Observer Program /
Automatic Position Reporting System as a Weather Network
So, you're fired up now. Your station has been working for a week, you're checking your WeatherLink app more times than Facebook, Twitter, Instagram, text messages and email combined, and you are totally nerding out on the copious amounts of data provided on weatherlink.com. Now comes the final frontier: the Citizen Weather Observer Program / Automatic Position Reporting System as a Weather Network, also known as CWOP / APRSWXNET. I'll just go with CWOP as the abbreviation for this for the rest of this discussion. The cool thing about CWOP is your data gets uploaded to NOAA / National Weather Service. This puts your station among a fairly elite group that the National Weather Service gets data from. That data can be used for short term forecasts, rainfall amounts, temperature analysis, and wind gust reports. Click here to get a sample of it. This data is invaluable to the weather service, broadcast media and other forecasters like me for current conditions and forecast verification. Check out this map of stations monitored by NWS. Zoom in Maine and look around. You may find someone near you is a part of CWOP. That is alright, the more data from more places, the better. If there is no data near your location, it makes it more important that you become part of CWOP!
So how do you do it? It's very simple:
1. Get a DW number by filling out a short application form.
2. Once you receive your DW number via email, enter it into your weatherlink.com account. In Bulletin, click on Share & Uploads, then Uploads, and then enter in your assigned number.
That is all. The station automatically uploads data packets to NWS. It will go through a process of quality checks and may take a week or two. Once approved, NWS will activate your station in their database and on the map. After a couple of weeks, do an internet search for your DW number (i.e. "FW5429 CWOP) and you will find MesoWest, FindU.com and other weather sites that are using your data.
Over time, local television networks will pick up that your station exists and will add it to their maps. You may see your station reports during the weather forecast!
And that is it!
The weather hobby is an amazing one. When there is a storm going on, it's fascinating to see what is going on outside from your weather station reports. When done and done right, it can last for several years. Sure, there are cheaper models, and more expensive ones. I did my homework with this. I wanted to check off all the boxes, and this is how I did it. I pulled this all off for around $500. I've set up another one of these stations at Dutch Elm Golf Course in Arundel, and that one is on CWOP also. It's worth it to save your money and do it the right way. Don't be fooled by other stations of lesser quality and price. Davis is one of the very few that you can upload to CWOP and onto NOAA, and one of the few that can store your data at a reasonable cost. You can add additional various sensor types to WeatherLink Live, where with others, it's limited at best. When you trust Weather Underground to store your data for you, it's like playing Russian Roulette. You may get lucky, or you may end up losing it all. I refused to get burned again, so that is why I did this.
For the record, Davis did not pay me to do this. What you read here is based on my personal experience only.
Do this in order... SKYWARN, CoCoRaHS, get a station, get hooked up to CWOP. If you have a station, get SKYWARN trained and get set up for CoCoRaHS. The weather community here in Maine needs you to do this. We need all the help we can get!
